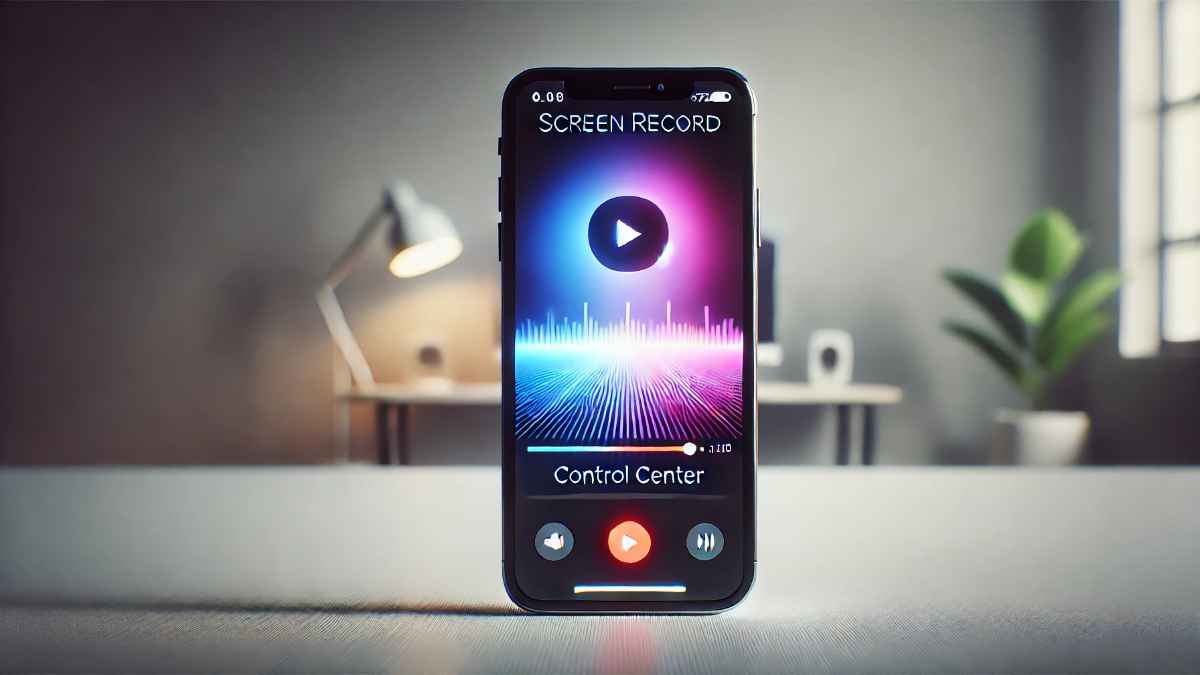
How to Screen Record with iPhone: A Complete Guide (2025)
Introduction
Screen recording on an iPhone is a useful feature that allows you to capture on-screen activities, whether for tutorials, gaming, presentations, or troubleshooting. In this guide, we’ll walk you through how to screen record with iPhone, including enabling the feature, recording with sound, troubleshooting, and pro tips for a better experience.
How to Enable Screen Recording on iPhone
Step 1: Add Screen Recording to Control Center
- Open Settings on your iPhone.
- Tap Control Center.
- Scroll down to Screen Recording and tap the green + icon.
- Now, swipe down (or up on older models) to access Control Center, where the screen record button will appear.
Step 2: Start a Screen Recording
- Open Control Center.
- Tap the Screen Record button (a circle inside another circle).
- Wait for the 3-second countdown, and your recording will start.
- To stop recording, tap the red status bar at the top and select Stop.
How to Screen Record with Sound on iPhone
By default, screen recordings do not capture external audio. Here’s how to enable it:
- Open Control Center.
- Long-press the Screen Record button.
- Tap the Microphone icon to turn on external audio.
- Tap Start Recording to record both video and voiceover.
How to Find and Edit Screen Recordings
Once you finish recording, your video will be saved automatically in the Photos app.
How to Edit a Screen Recording:
- Open the Photos app and locate the recording.
- Tap Edit.
- Trim the beginning or end by adjusting the slider.
- Add text, filters, or annotations if needed.
- Tap Save as New Clip to preserve the changes.
Best Apps for Advanced Screen Recording
If you need more advanced screen recording features like annotations or video editing, consider these apps:
- TechSmith Capture – Great for professional recordings.
- Screen Recorder+ – Allows for real-time annotations.
- DU Recorder – Includes built-in editing features.
- Record It! – Best for streaming and tutorial videos.
Common Issues and Troubleshooting
1. Screen Recording Not Working
- Ensure Screen Recording is enabled in Control Center.
- Restart your iPhone and try again.
- Check for iOS updates and install if available.
2. No Sound in Screen Recording
- Make sure the Microphone is turned on.
- Ensure Do Not Disturb mode is off.
- Try recording without headphones.
3. Screen Recording Stops Unexpectedly
- Check if your iPhone has enough storage.
- Close unused apps to free up memory.
- Restart your iPhone before recording.
Pro Tips for Better Screen Recording
- Use Airplane Mode to prevent notifications during recording.
- Lock screen orientation to avoid unwanted rotations.
- Adjust resolution in third-party apps for higher quality.
- Edit recordings before sharing for a polished look.

FAQ Section
1. How do I screen record with sound on my iPhone?
Enable the microphone in the screen recording options before starting.
2. Can I screen record a FaceTime call?
Yes, but Apple does not record audio due to privacy restrictions.
3. Why is my iPhone screen recording without sound?
Check if the microphone is enabled and ensure the volume is up.
4. Where do screen recordings go on iPhone?
All recordings are saved in the Photos app under Screen Recordings.
5. Does screen recording notify others?
No, screen recording does not send notifications to other users.
6. How long can I screen record on iPhone?
There’s no time limit, but storage and battery life may affect duration.
Conclusion
Screen recording on an iPhone is simple yet powerful. Whether you’re creating content, capturing important information, or troubleshooting an issue, the built-in feature makes it easy. With this guide, you can now screen record with iPhone like a pro!

